Having conducted the necessary research into flooring materials for your new home patio, it’s likely that the versatility, affordability, and properties of flag paving slabs will stand out from the crowd. However, selecting paving slabs with the hue and colour to suit your home’s aesthetic is just the start.
Before starting your project you’ll naturally have many questions regarding how to lay paving slabs such as “can you lay sandstone on a dry bed?” and “which bedding method is most suitable for the project?” while you’ll also want to consider timescales and budgets. Here’s everything you need to know:
How To Prepare The Site & Lay Flag Paving Slabs
After finding the right materials for the job at hand, the first assignment of your project is to prepare the site. Without a flat and perfectly prepared surface, the quality of the entire project becomes severely jeopardised.
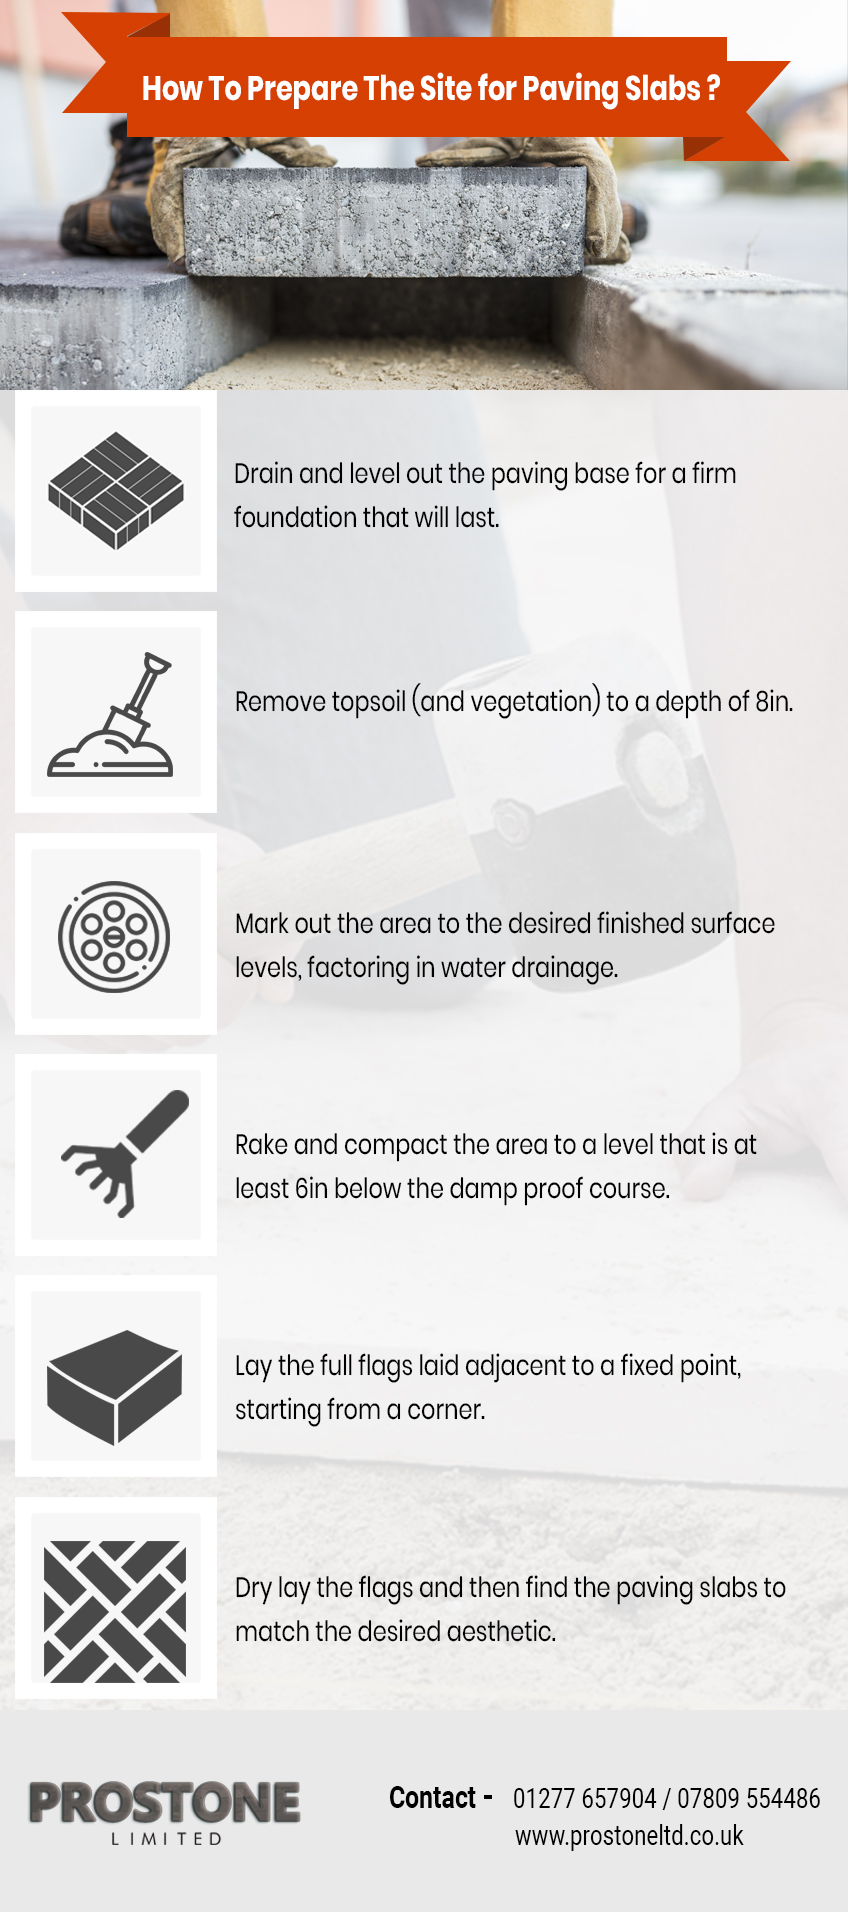
To prepare the site of your patio in style, use the six simple steps below:
- Drain and level out the paving base for a firm foundation that will last.
- Remove topsoil (and vegetation) to a depth of 8in.
- Mark out the area to the desired finished surface levels, factoring in water drainage.
- Rake and compact the area to a level that is at least 6in below the damp proof course.
- Lay the full flags laid adjacent to a fixed point, starting from a corner.
- Dry lay the flags and then find the paving slabs to match the desired aesthetic.
Bedding Methods
There are several bedding methods which could be used for laying the patio paving slabs, and this decision can have a huge impact on the overall finish as well as the sustainability of the patio. The most common methods are as follows:
Individual Bedding
Individual bedding means that each flag has a separate bed prepared and laid. The first is prepared and laid before moving onto the second bed and repeating the process until completion. It is a popular technique for larger flags and natural stone flags due to the contrast in thicknesses from one slab to the next.
Screed Bedding
Screed bedding is suitable when flag thicknesses are consistent. The process involves preparing a large screed bed before placing flags directly onto the bed in the desired formation. This technique is best used by small, light flags that can be manually moved and positioned. This is especially true if the plane isn’t 100% flat.
Spot Bedding
Spot bedding is also known as dab bedding, dot and dab, or dollops of mortar. Frankly, there’s a reason it’s rarely permitted or commercial and public projects. As a homeowner, you should try to avoid it too. You don’t need to know much about the method, other than any contractor suggesting it can be ignored.
Ring Bedding
Ring bedding uses a ring of mortar, which is placed around the perimeter, alongside a dollop. Like spot bedding, it can lead to distinctive stains and discolouration. It may be a quick method, but it does not produce the full bedding layer needed to support the patio paving slabs and should be avoided at all costs.
Natural Stone Versus Concrete Paving
While the above section has already separated the suitable methods from the unsuitable, it’s important to appreciate the impact that the material will bring. Natural stone versus concrete paving is one of the most important issues to consider.
Natural Stone
When the patio is being laid with natural stone slabs, the following steps should be embraced to achieve the desired look and function for many years to come.
- Start by digging the area to a depth of 8in.
- Prepare the area by using 6in of crusher run to refill the area before compacting it to 4in.
- Prepare the mortar for each flag individually based on the thickness of each flag.
- Using four parts sharp sand and one part cement, the bed’s mortar mix should boast a semi-dry consistency.
- If using mortar joints to produce consistent widths , butter the mortar into the edges of the pre-laid flags before pressing in the next one to form a filled joint. This can be topped up during the pointing process.
- Tap each lag down using a rubber mallet (or carefully with a hammer), making sure to monitor the levels throughout.
- Lay a solution of limestone or sandstone onto the semi-dry mortar bed and give the mortar mix 24 hours to settle.
- Start the pointing process with a wet mortar mix, ensuring that the joints are not the weakest area.
- Take extra care not to stain the surface with excess mortar.
- Add a plasticiser to the mix for added workability and avoid air pockets.
Once these tasks are completed, you’ll be ready to enjoy the patio in no time.
Also Check:
Concrete Paving
Concrete paving follows a relatively similar strategy to natural stone, but does require some personalisation. The following issues should be considered:
- The underside should be more consistent as the thickness of the paving slabs will have a far smaller level of variance than the natural stones.
- The ratio of sand to cement can be increased to 6:1 rather than 4:1.
- A specialised designed jointing compound can be used instead of the dry mix.
- If using a dry mix, though, the ratio can be increased to 6:1 too.
- Flags should be lightly dampened before the joint pointing process. This aids with the hydration of the cement.
As with natural stone, it’s important to take great care as to avoid damage to the surface. Otherwise, this can ruin the aesthetic and levelling of the patio slabs before you’ve even started to enjoy them.
The Final Word
Laying the patio in style will provide the perfect starting point, but you’ll also need to consider the ongoing maintenance and upkeep of your patio. Once again, though, making the right choices in the early phases will make life a lot easier for the immediate and long-term future.


